 Happy New Year!
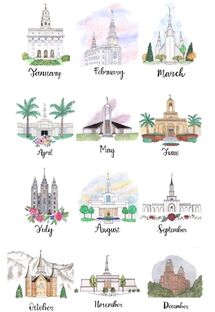
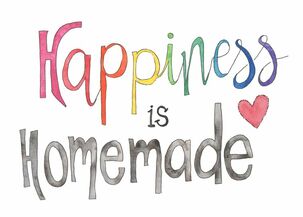
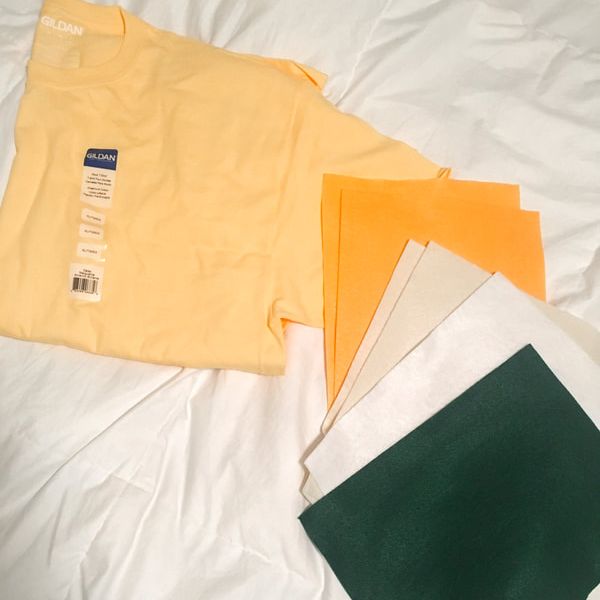
It is that time of year again- time for a new calendar!! I just wanted to sincerely thank you for supporting my small business this past year. While I didn't take many custom orders or blog much due to mental health, I did keep crafting just for me. I personally have mostly switched over to Photo and Video, but I want to keep sunflowers and stitches for my craft projects and art, I still occasionally post to IG. I appreciate each one my followers and customers so much. I wanted to share a gift with you for 2020. It is something very special- my 2020 Temple watercolor calendar. This year the my calendar is inspired by Temples of the Church of Jesus Christ of Latter-Day Saints. These buildings are very special to me because in them individuals and families make special promises with God. I am grateful to have been sealed to my sweet husband for time and all eternity. You can print and share it for free, just credit me when reposting it. (Continue reading to find download link below.) I hope my temple calendar brings joy and color to your home, happy 2020! ~Kristyn Special thanks to my friend Tobie. In attempt to keep creating through my loneliness and mental health issues this past year I began doing weekly craft days with my friend Tobie. We would do something different each week; sometimes it was painting, sometimes it was clay, and once we made custom t-shirts on a Cricut. I taught her how to make clay jewelry and she's taken up watercolor/ calligraphy on her own too. Tobie has started her own IG page that you can follow to support her art journey, it is @TOBIEISARTSY. This was a fun collaboration to do with her. She did all of the calligraphy for each month name. I'm sure she has some wonderful things coming soon! Thanks for your help Tobie. Download the calendar as a PDF document HERE for free. Easy to print! Protip: I trim off about .5 inch from each side of the 8.5x11 printed pages to become 7.5x11 and then I hang mine on a painted clipboard for display. It helps give the pages a clean and slim look.
1 Comment
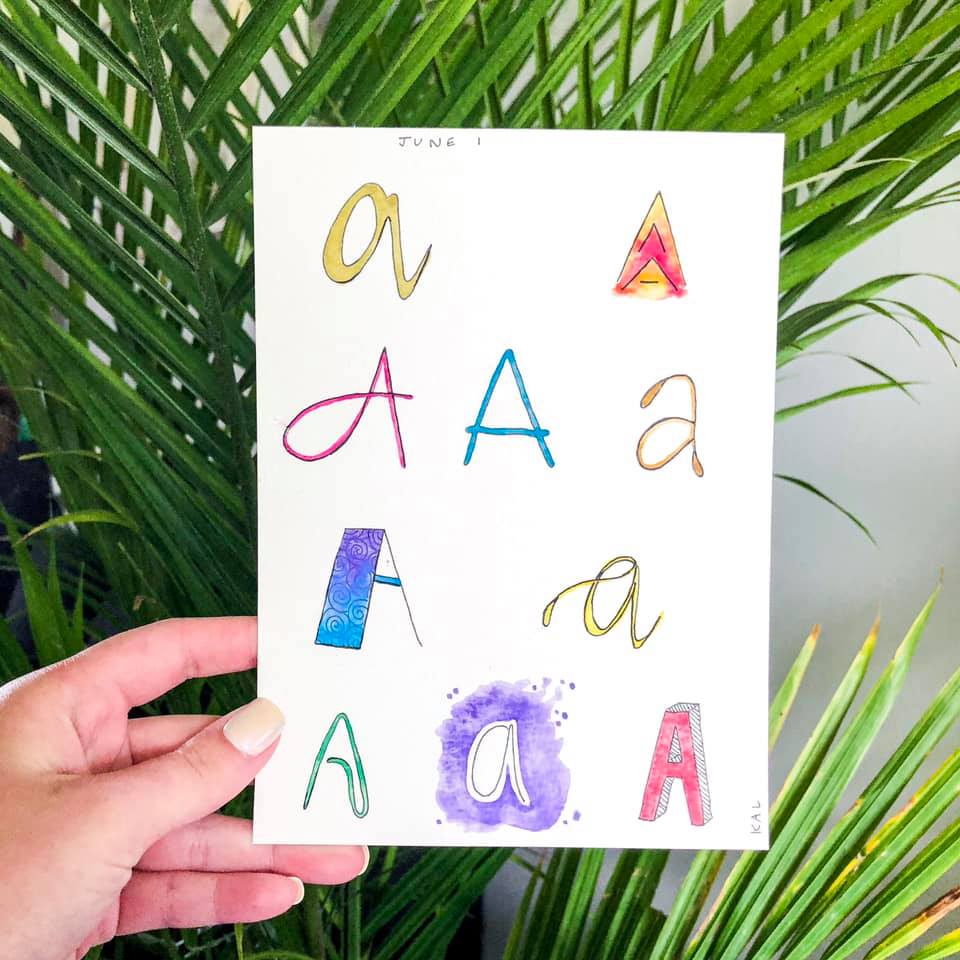
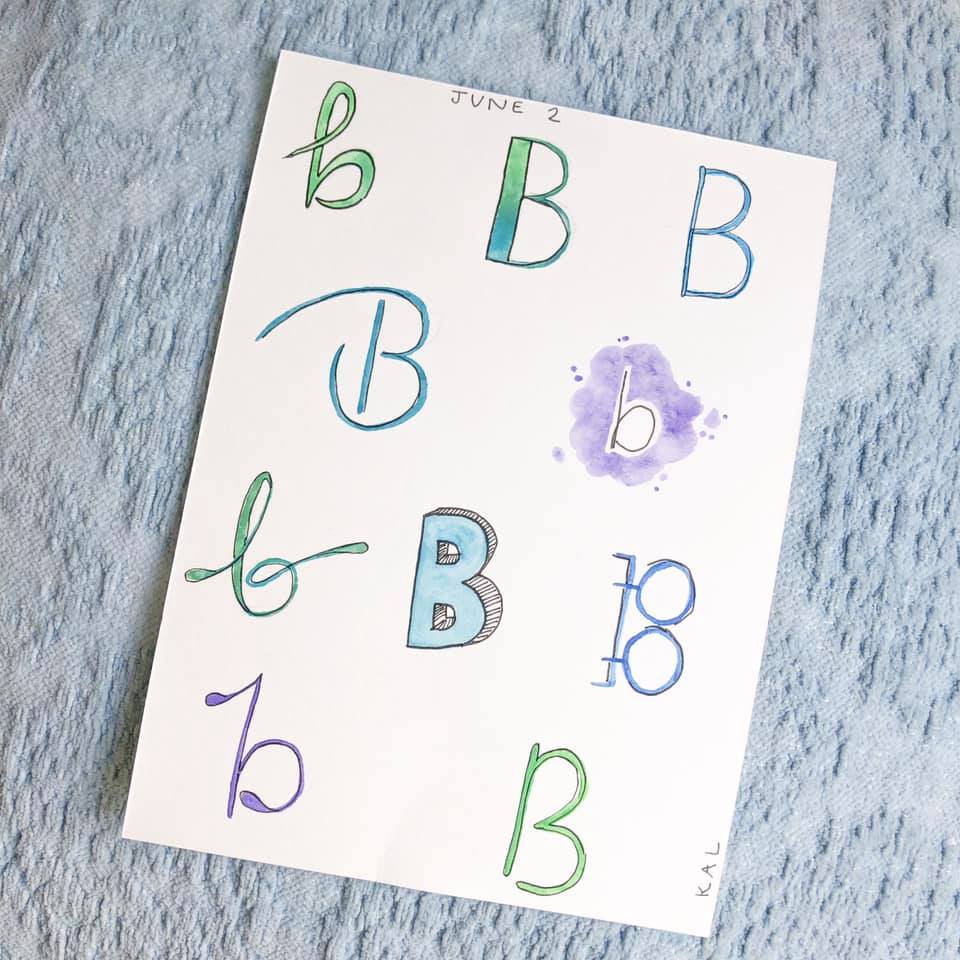
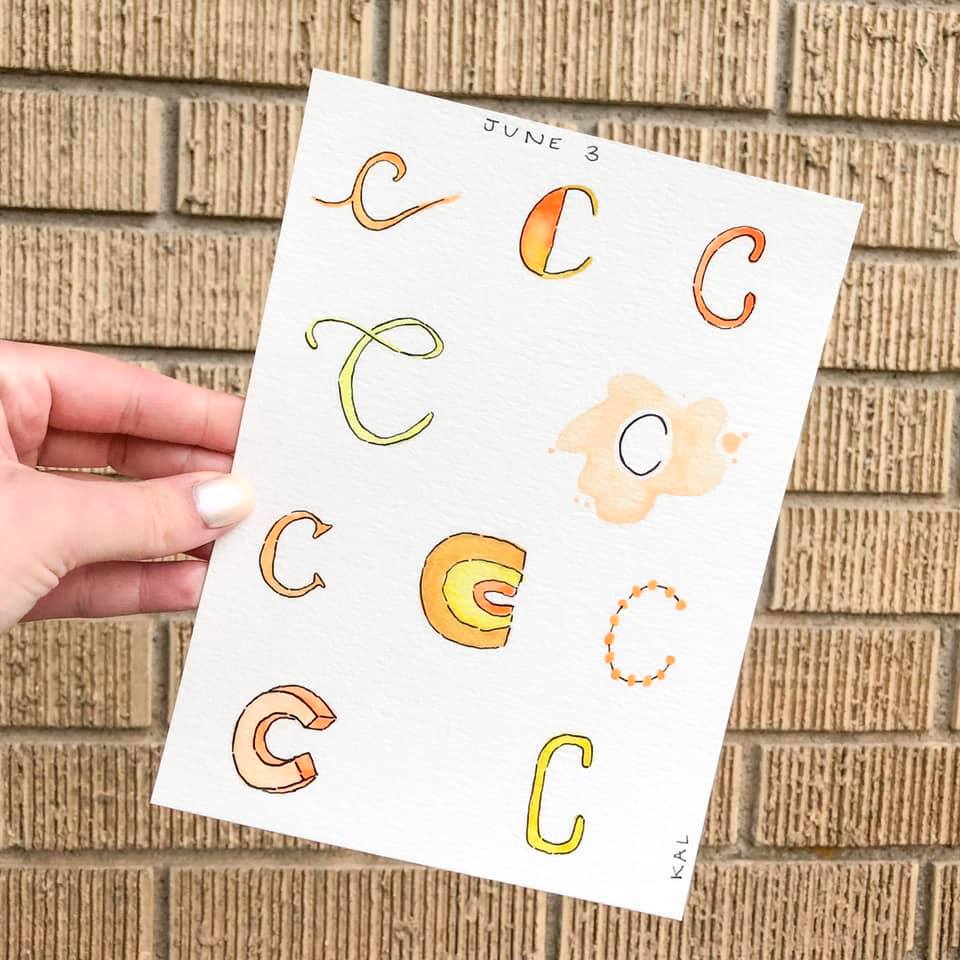
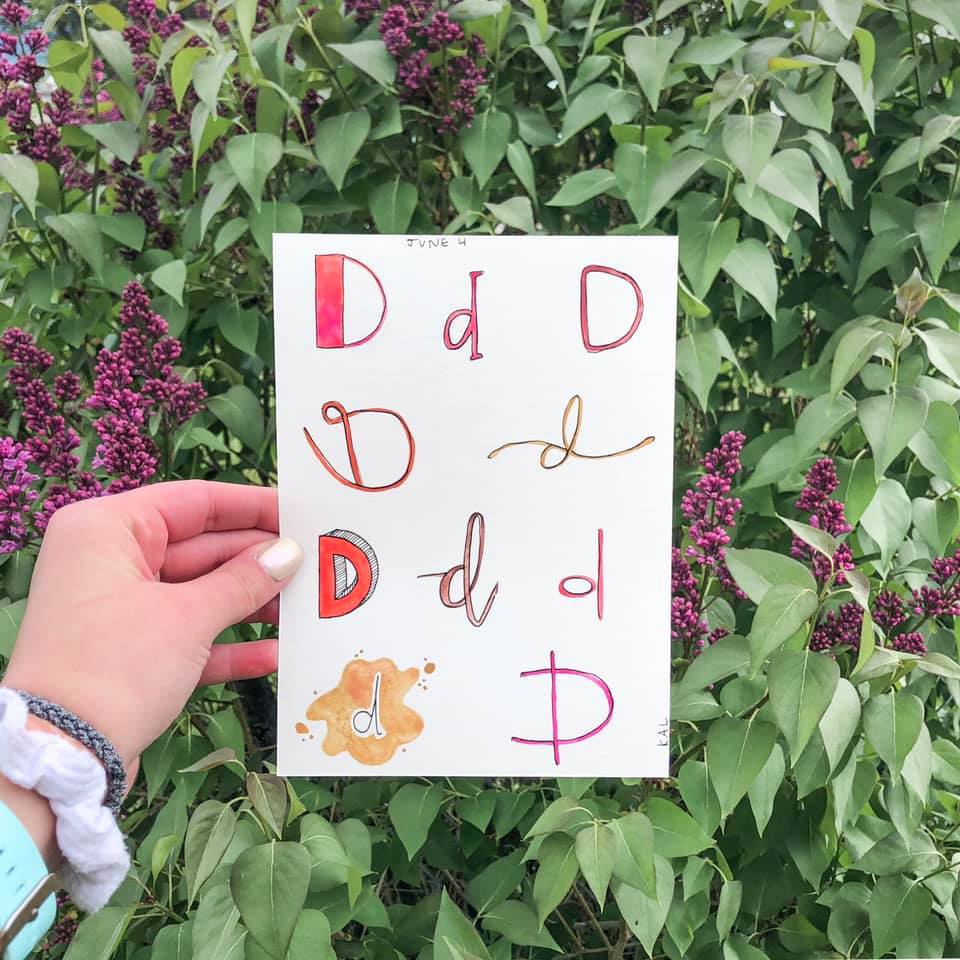
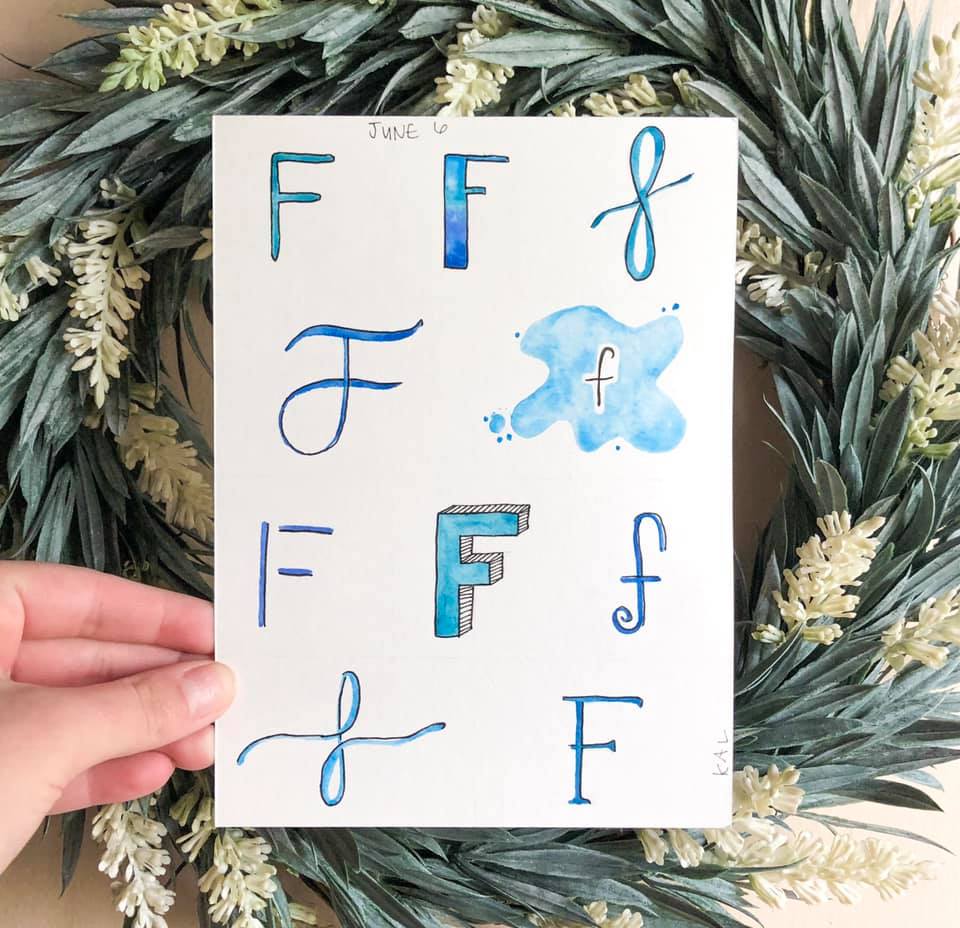
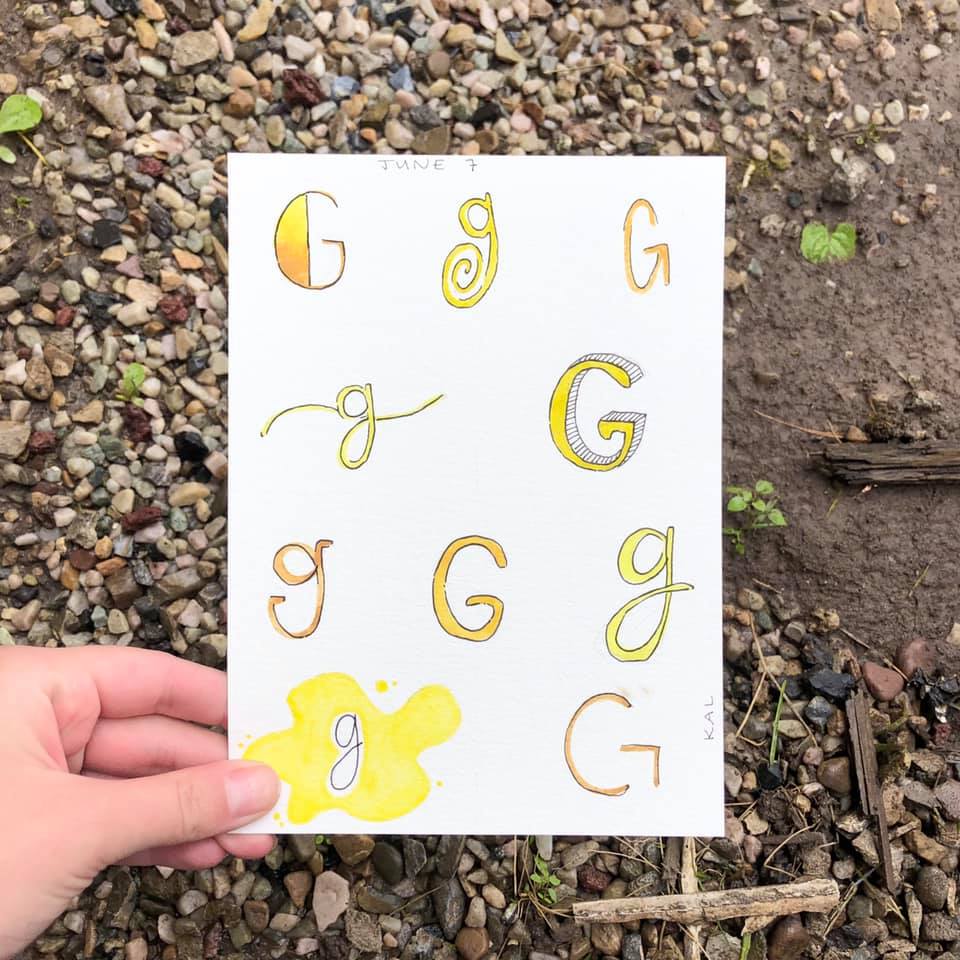
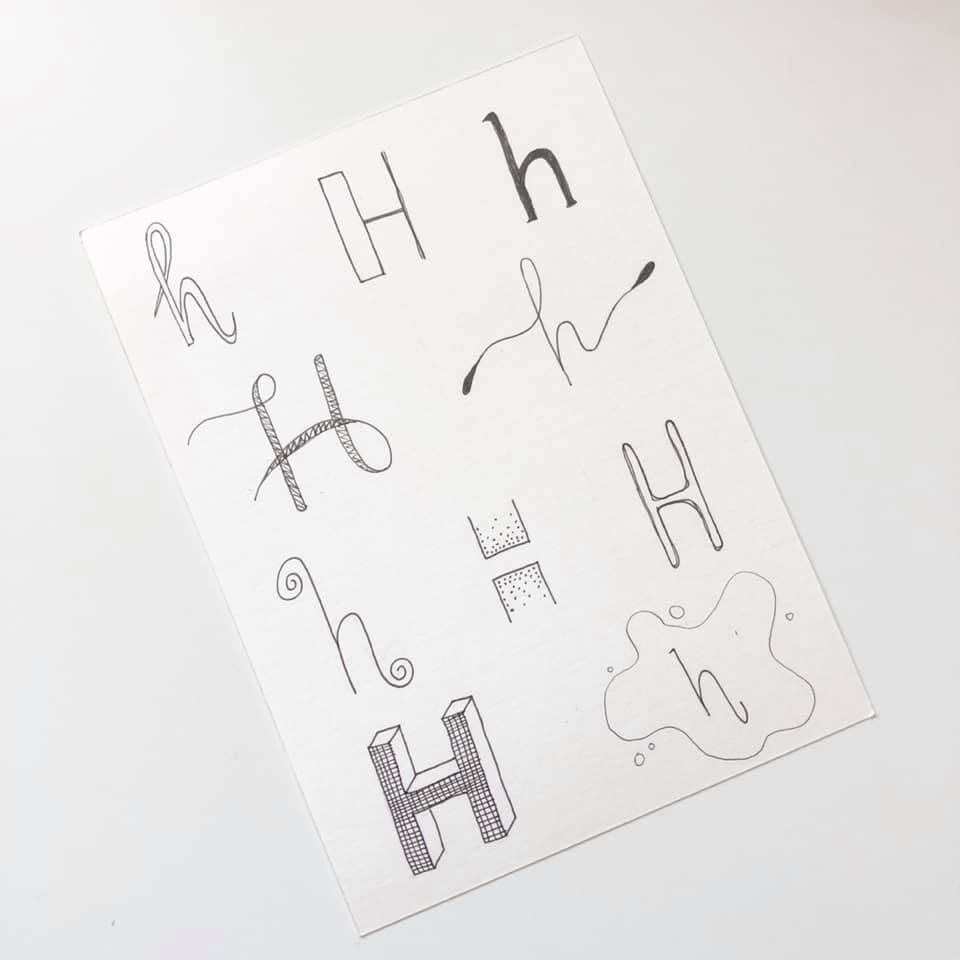
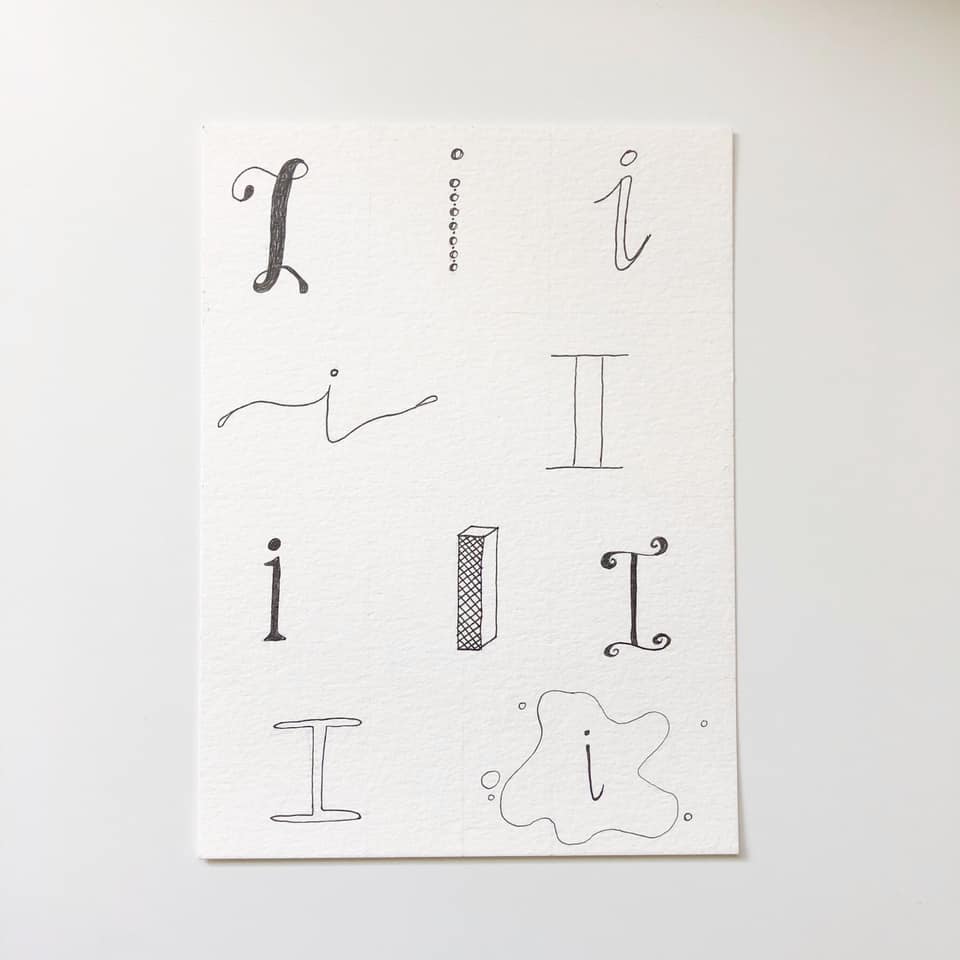
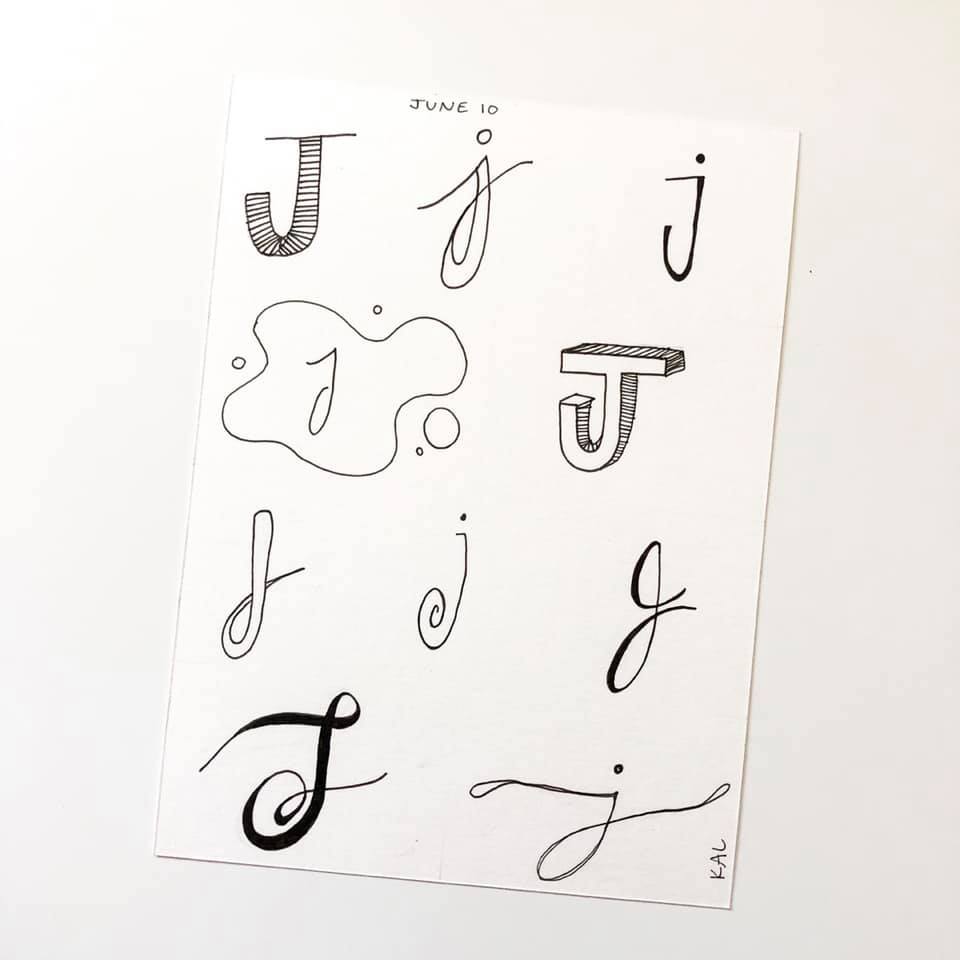
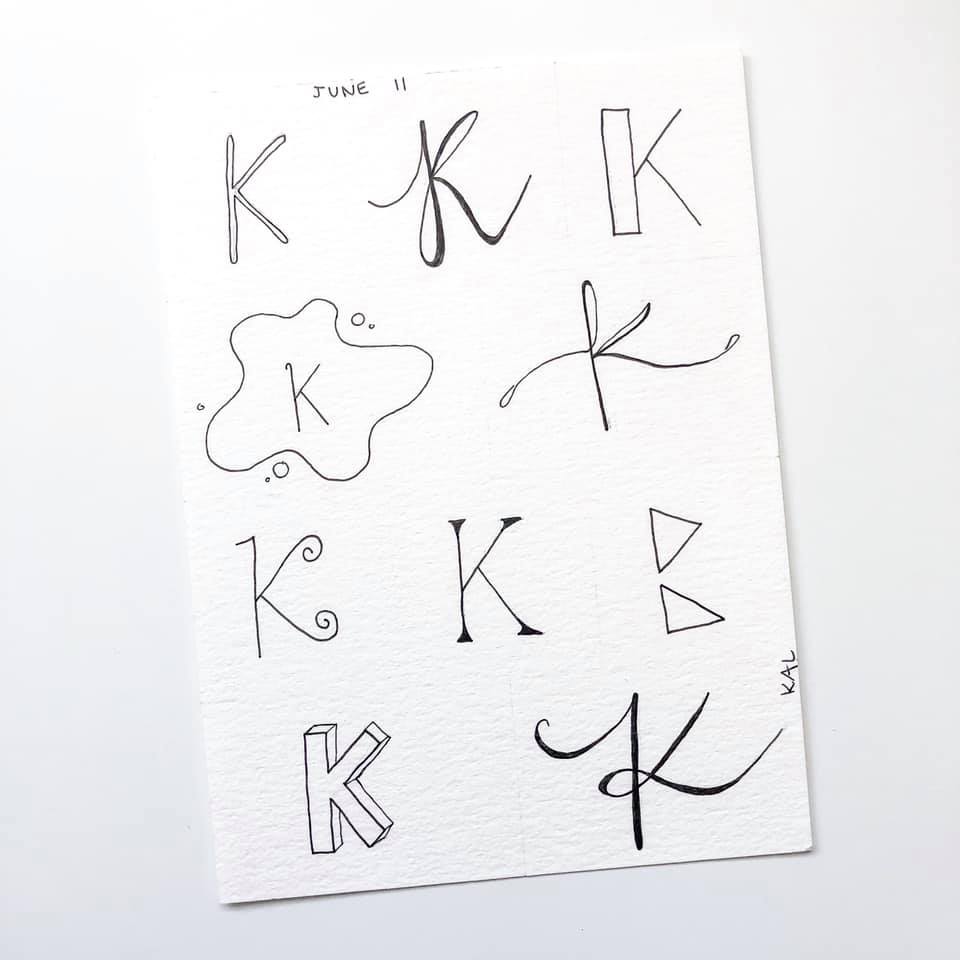
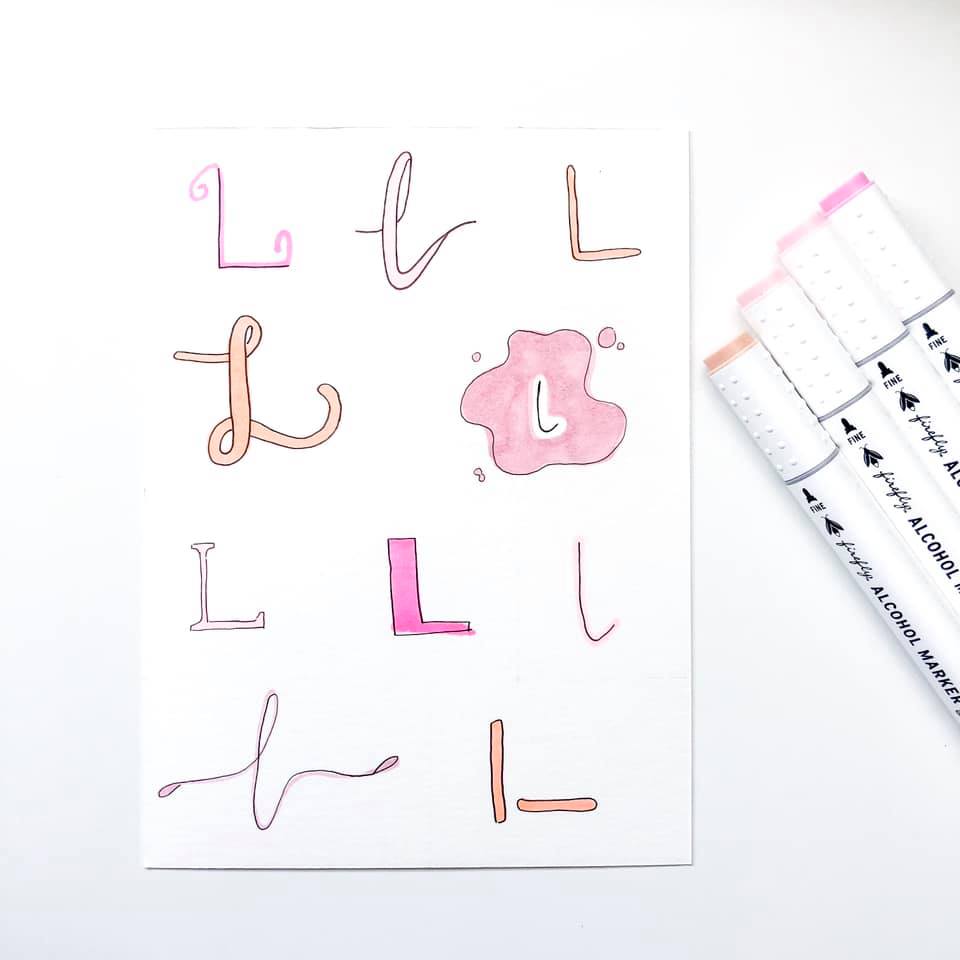
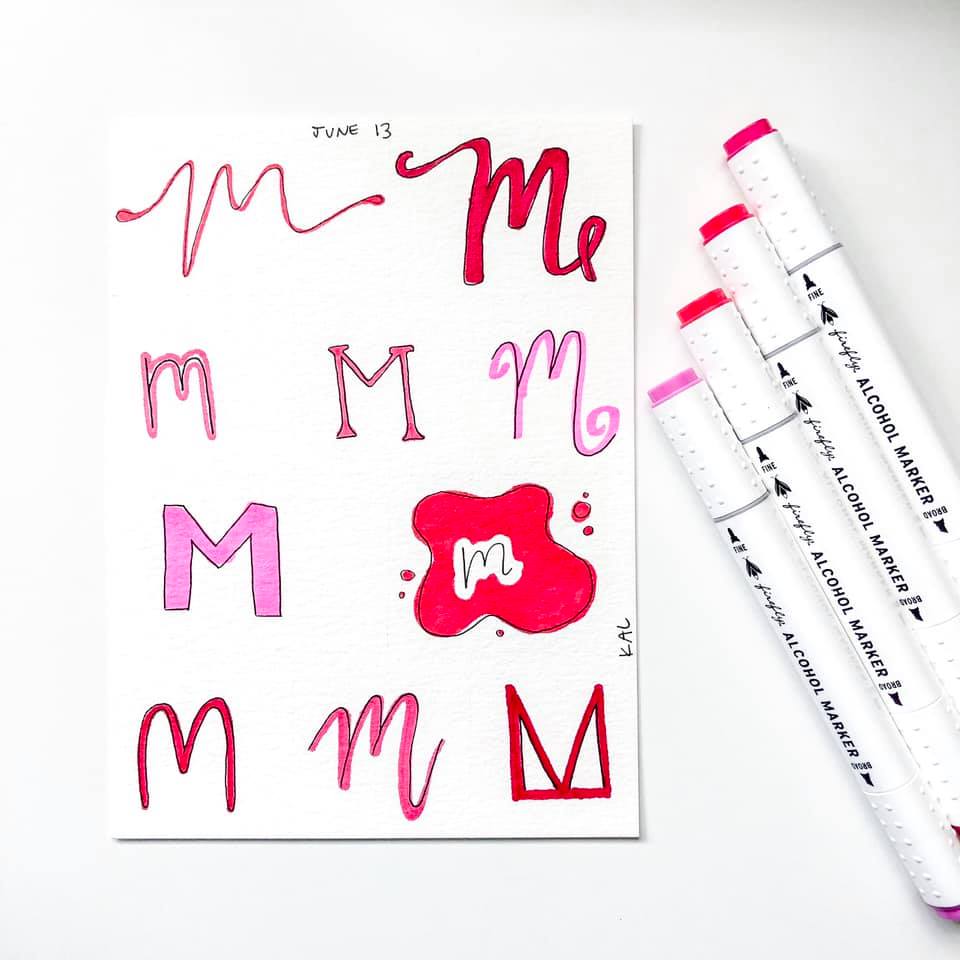
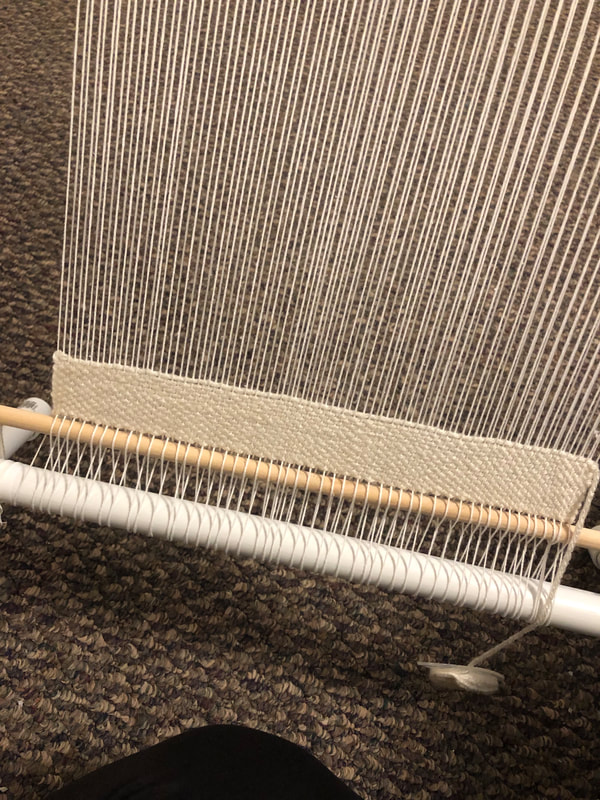
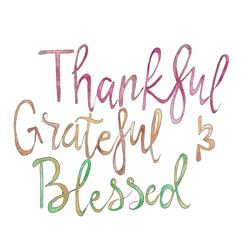
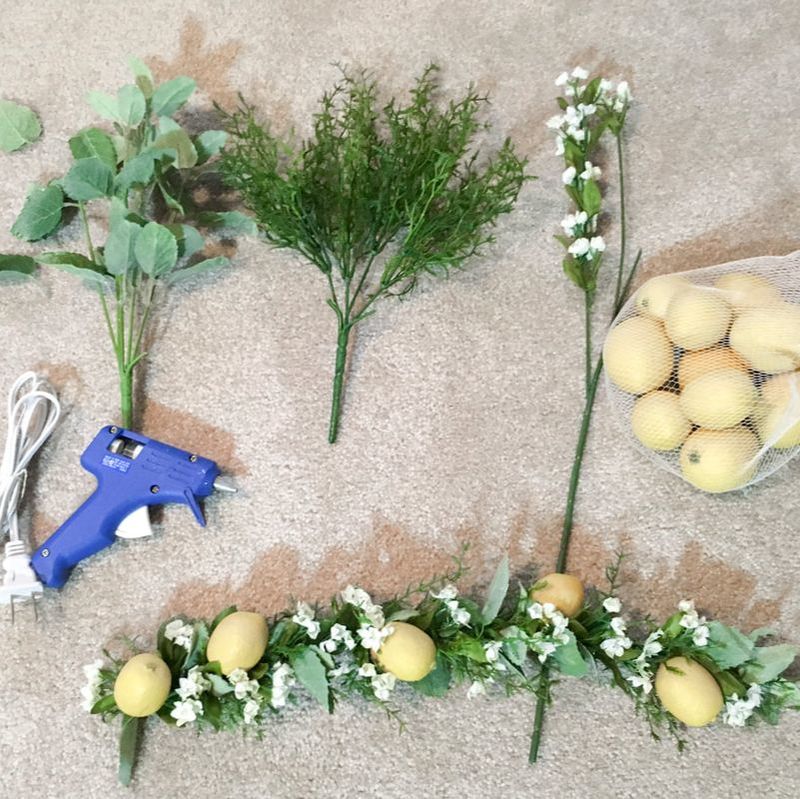
My sister Mckinsey challenged me to join her on a lettering challenge in the month of June. I'm glad she did because it challenged me in new ways. The prompt was to attempt 10 different versions of a letter each day through out the month. I only made it about half way through, but may pick it back up later on. This was a fun challenge for me because I was able to practice with different mediums: watercolor, marker pens, and alcohol markers. When I continue I'll update this post. For a few of them i did process videos which can be found on my instagram page. Heres my #lettercise for A-N. I've been wanting to learn how to make woven wall hangings so I did a little research. I found on Pinterest the basics of looms so I attempted to make my own with materials at the hardware store. My husband works at a hardware store so I was able to get the materials for only like $3.
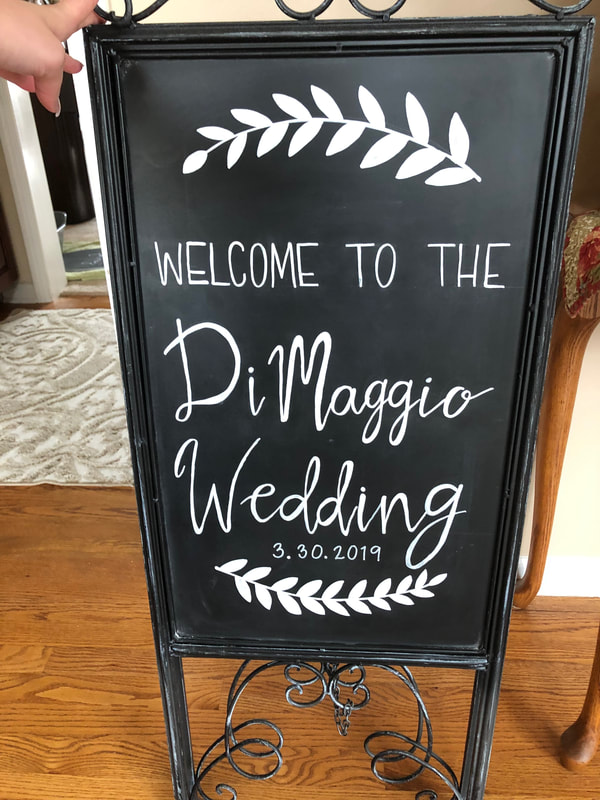
While I was in Illinois I did these chalkboard signs for a friend's wedding and one for my mom. I was pleased how they turned out, so I though I'd share them.
This past week I was able to participate in a winter stylized shoot with my friend Celine. She put this together with several different photographers, models, cake artists, florists and me as the calligrapher. It is fun to see what you can create when you put inspired individuals together.
Here are the different things I made for the shoot. There were name cards, a menu and a love quote. They were all made by hand with different papers. I chose to focus on gold and black details. (The above photos were taken by me.)
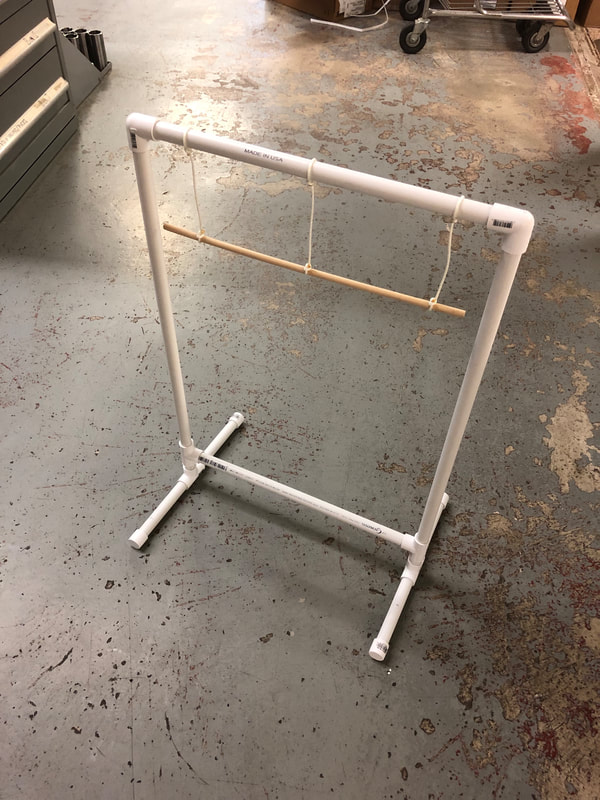
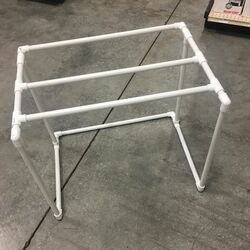
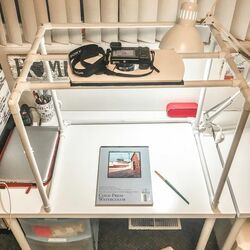
 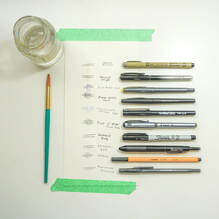 Today I begin my #TipTuesday series, I'll be sharing different tips and hacks I've learned through my years creating. I hope you love it! Today we are going to test pens together to see if they are able to work with watercolor painting. You know those "tasty videos" that Buzzfeed does? They are always so intriguing because they put the viewer in the front seat to make the actions of each recipe seem so easy. The legs of a tripod get in the way, so we had to create our own solution. I decided to make my own camera mount to be able to film these overhead videos for some of my craft projects and painting process videos. Sheldon was sweet enough to help me build it. We drew out a little sketch so we could cut and form pvc pipes to the right shape and size. I love how it turned out. It was only about $8 in materials to build!
Basically all we did was we had to measure the length and width of my desk/workspace and then had to decide the height that the camera should be held at for filming. Once we had the dimensions the rest of the math was fairly simple. We had to get a little creative with the wooden stand for the camera to rest on. It was the center of an empty spool of rope which we cut down to size, painted white, and then used velcro to secure. We were lucky that the hole was the perfect size for the lens to fit through. I love it and have used it for several videos already!
 Hello friend,
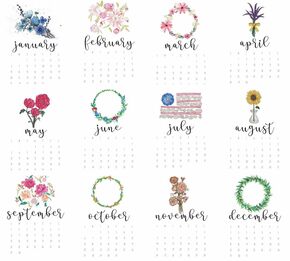
Today I'm bursting with joy because it's my birthday week! I just wanted to sincerely thank you for supporting my small business this past year! I appreciate each one of you so much. As part of my birthday celebration I wanted to share a gift with you. It is something very special- my 2019 watercolor calendar. This year the my calendar is inspired by flowers! You can print and share it for free, just credit me when reposting. (Continue reading to find download link below.) I'm going to be making some changes with SS this year and hope to be able to continue to share my art with you and build a creative community. I hope my floral calendar brings joy and color to your home, happy 2019! ~Kristyn I couldn't have made this calendar without the help of my talented friend Shelby. This was a fun collaboration. She did all of the amazing digital calligraphy for each month. Follow her on Instagram @PARKYPRINTS because she has the cutest prints! It was fun to work with her for this project. Watch out for a giveaway coming soon! Download the calendar as a PDF document HERE. Easy to print! Protip: I trim off about .5 inch from each side of the 8.5x11 printed pages to become 7.5x11 and then I hang mine on a painted clipboard for display. It helps give the pages a clean and slim look. 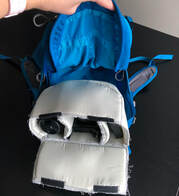 After having booked our trip to Hawaii over Christmas I knew that I would have to figure out a backpack to hold all the essentials INCLUDING camera equipment. I looked all over online and all camera backpacks are so expensive. I eventually found this Osprey one on sale. It was great because of the size/ pockets/ "camelbak" water capability. BUT there was no obvious way to safely store camera equipment in it. I looked for "packable camera cubes" but none of those really seemed to be exactly what I wanted. SO, turned to Pinterest for some inspo. I eventually came up with an idea for how to keep it all organized with a little DIY bag insert. I was inspired by THIS post.
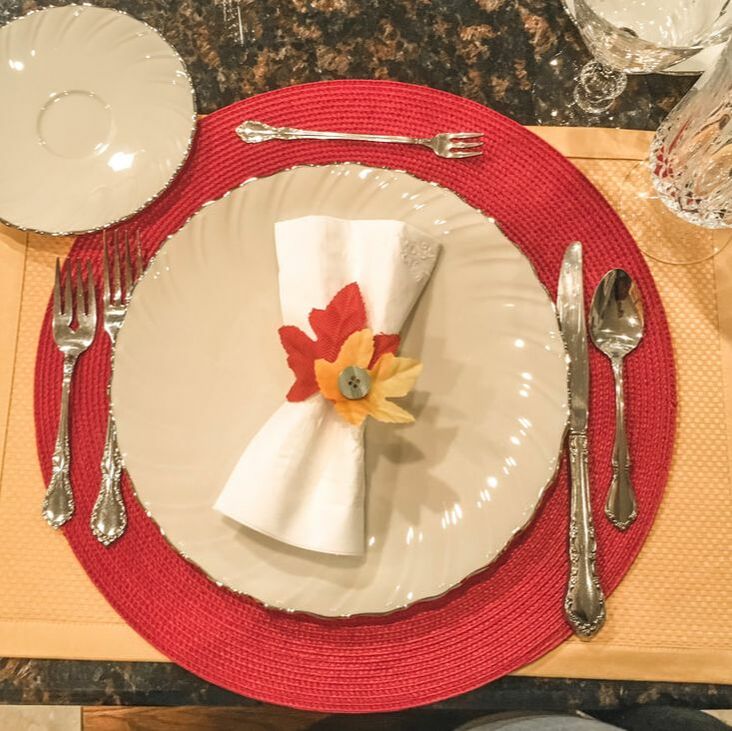
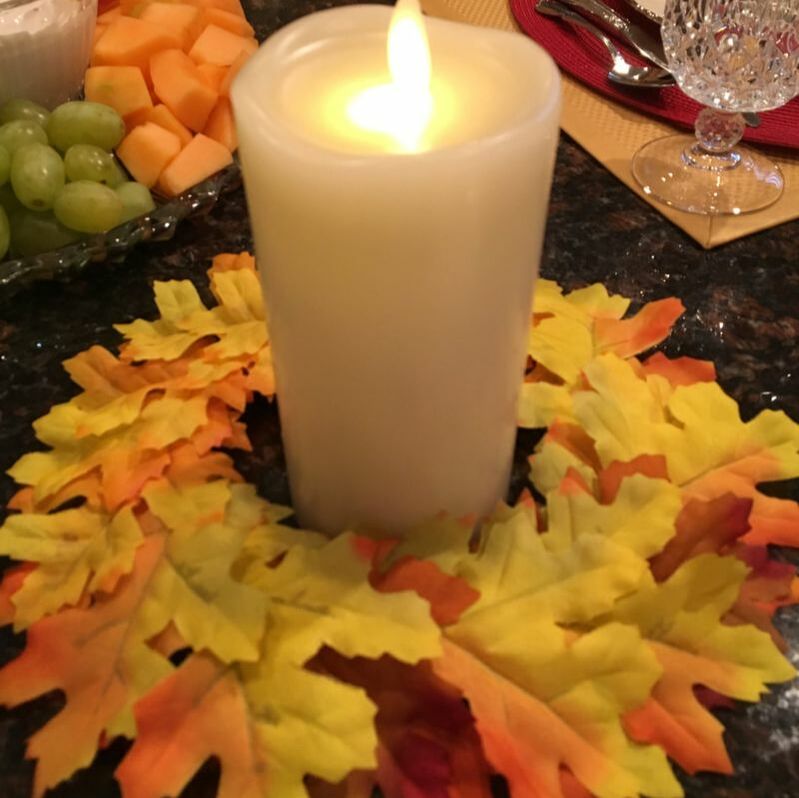
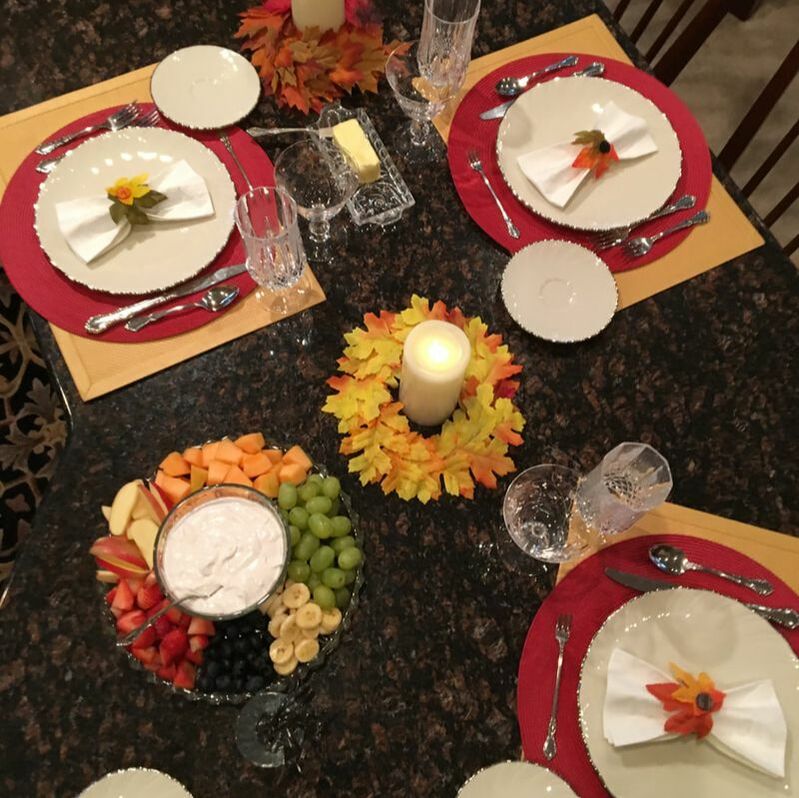
For our thanksgiving table we bought some garlands of fall leaves at the dollar store and took them. I used hot glue, buttons, wire, and toilet paper tubes, etc to create these cute things. We made napkin rings and candle wreaths.
I think they turned out so cute! It was an inexpensive craft and really added character to the table.
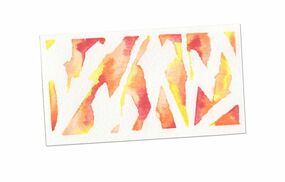
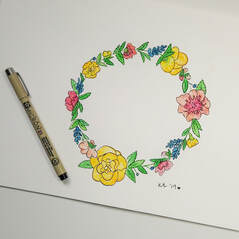
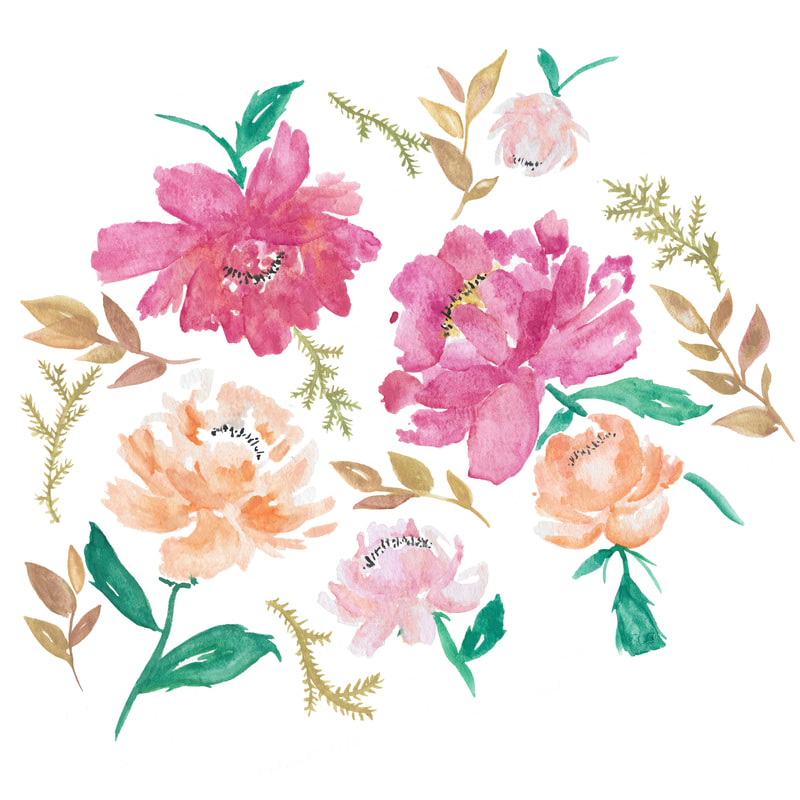
Sometimes I just need to take a moment to be creative. Even in a busy schedule if i take a few minutes to do something creative, I will feel so much better. It helps me feel more centered and focused. This October I painted some florals in soft tones and mixed them with fall leaves. Here is the result below.
Side note- I am now working with influencers! If you are an instagram influencer contact me to learn how you can get a free custom painting!
A few of the other teachers at school and I decided to be different fruit for halloween It was a fun idea for a group costume. Even a few of the students joined in!
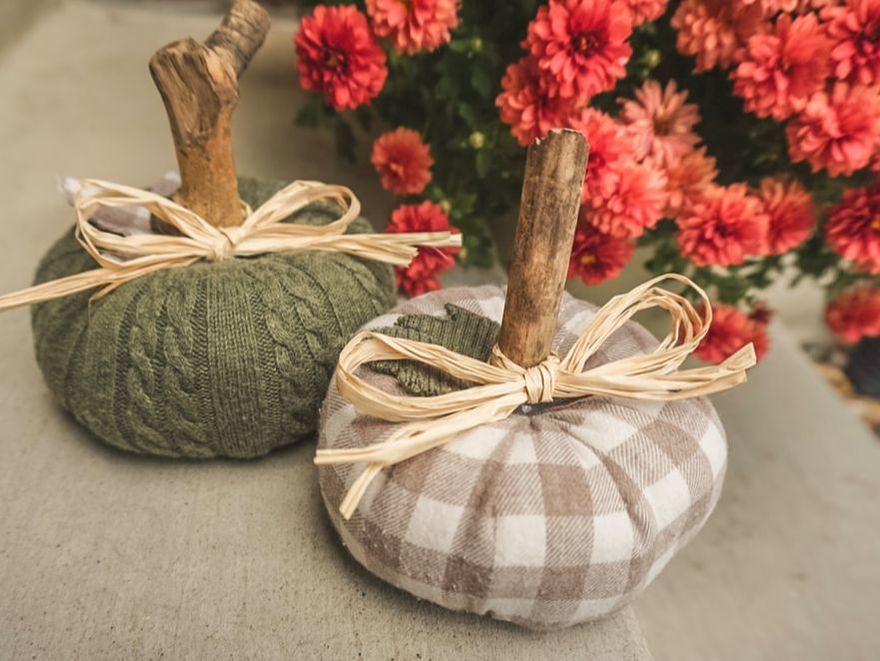
I saw the cuuuutest idea from my creative friend Amy over at @sometimescreative on Instagram. She has a tutorial on how to make these fun harvest pumpkins on her highlighted stories labeled "crafts". These pumpkins are super easy to make because they are actually made from sleeves of old sweaters. All you need to do is minimal hand sewing and a little hot glue. My sister and I actually put these together while watching General Conference this year- we usually try to have some kind of craft while we listen.
Resharing this temple painting today because I had a recent inquiry about it. A primary president reached out to me about using this image for an upcoming activity. I really haven't wanted my shop to sell prints, because i want to focus on custom/ original paintings.
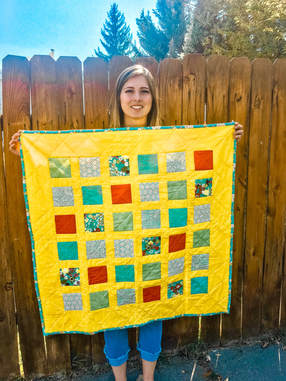 So I have another little baby niece that was born in early September so I got to make a cute little quilt for her. So I actually ended up using a quilt top that I had previously pieced together my back in 2013. However, because I had made it so long ago I actually did not have the fabric scraps anymore to finish it. So I had to look for something similar enough to match. I ended up the perfect finding yellow fabric for the back and some really cute blue fabric and I cut all my pieces into 3 inch strips for the binding. Once I had all of my components, I quilted it all together on my machine because it was small enough to do so. I hand stitched the binding on and put it all together in a cute little quilt. I think it turned out really pretty good for what it was and it felt good to finally finish something that I had started so long ago. This was only the 2nd quilt I've created. It is just a small play quilt but soon I'll try something a little larger and more complex.
|
Organized but Colorful.
Aspire to Inspire. Archives
January 2020
|


 RSS Feed
