|
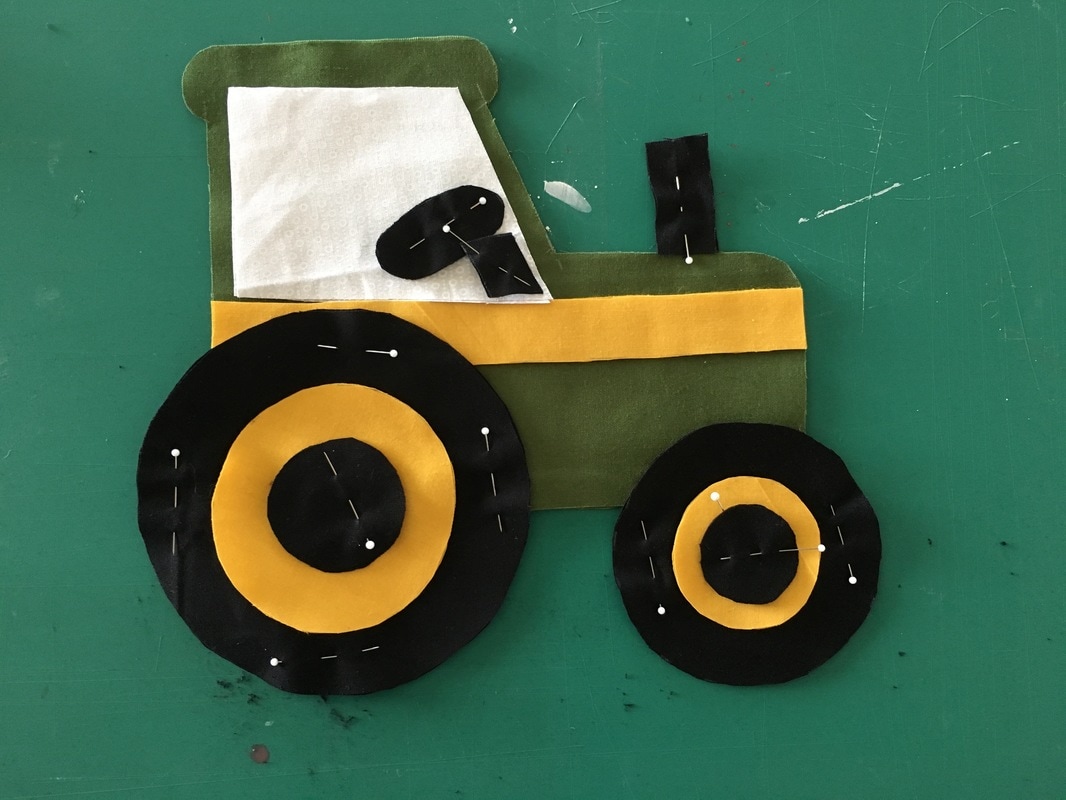
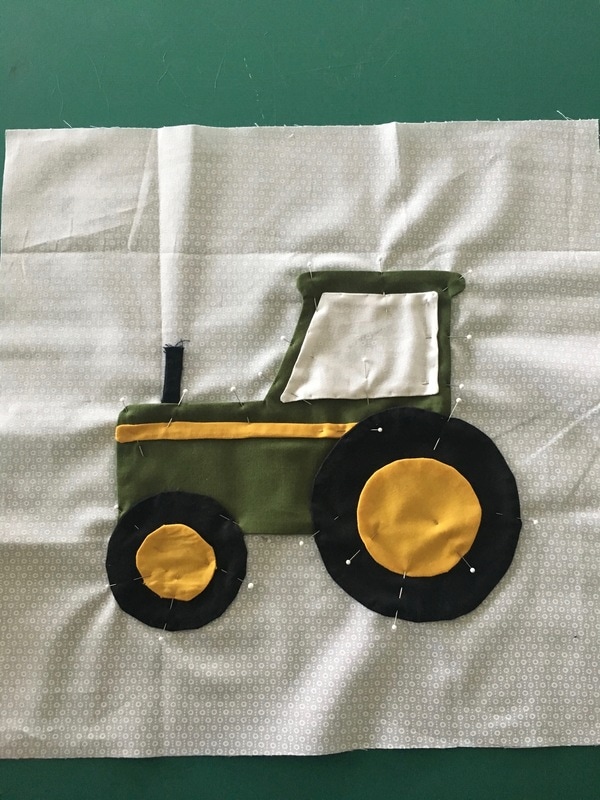
It's been awhile since I posted anything. So I thought I'd share this little baby play quilt that I made recently for my little nephew that was born. I't like to start doing more DIY and process posts to encourage my friends and followers to continue crafting too. 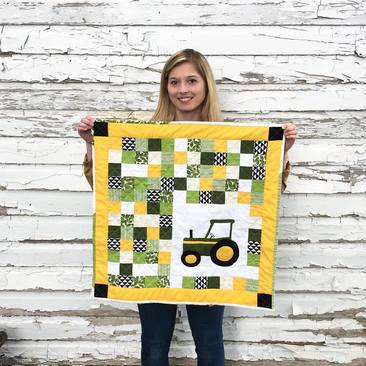 First of all, I knew that I wanted to some kind of tractor design to the quilt; since I don't have a lot of practice piecing yet, I decided to appliqué the tractor on. After choosing colors and fabrics, that is where I started. I actually drew out the design on my own then cut apart each piece and added the seam allowance on as I traced each shape onto the fabric. (That is why it looks so bulky in these first photos, once you turn them inside out they will look better.) Stitch all the way around each piece with whatever seam allowance you determined, I chose .5in. Remember right sides together. Make sure to trim your corners and notch around rounded edges for a smoother piece. Then proceed to turn each appliqué piece inside out by either cutting a small x on one side or from another designated opening. Pro tip: Safety pins and knitting needles are the best tools to turn things inside out.
Once everything is turned inside out you'll want to iron each piece flat. This prepares you to place and pin each piece onto your block. I always tend to over pin, so ignore that as we go. (After sewing, I decided to not include the black center of the tires because it looked too much like a target for me.)
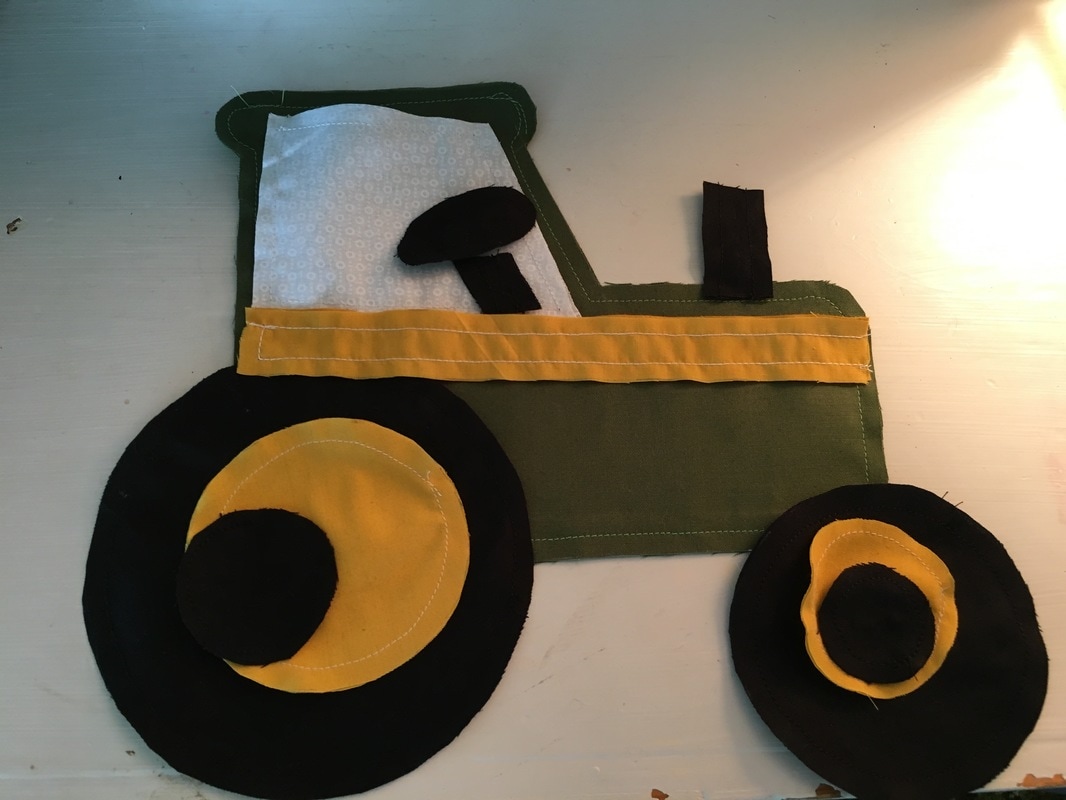
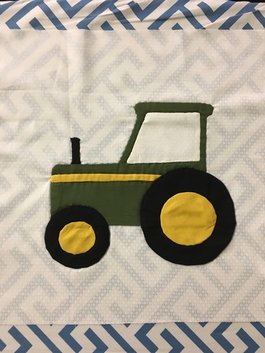
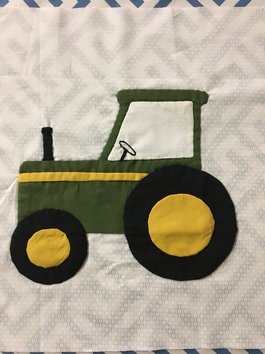
Then you are going to stitch the appliqué pieces on. You can either do it by hand stitching a blind stitch all the way around each piece, or by machine stitching tight zig-zags around each piece. I've done both, and prefer hand stitching; because of the accuracy and the result. (A good activity to keep your hands busy as you watch TV.) You'll have to stitch each piece layer by layer until everything is secured down. Once you get it all hand stitched down you'll need to iron everything down again. Flat! At this point I added a little steering wheel detail with embroidery thread, and on detail on the pipe.
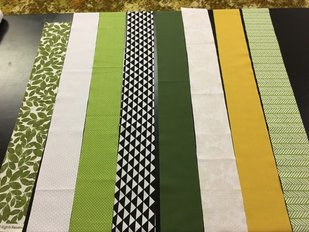
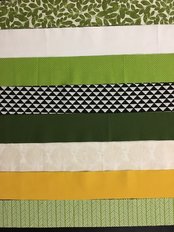
Then to make things quick I just cut 3in strips of fabric as long as I could from each color and arranged them how I liked it best. I did this twice. Sew to piece each long strip together in the order you like best. Remember that you loose an inch from each piece with a .5in seam allowance on each side. So once sewn each piece would be 2 in wide. Sew them together so it just looks like one long striped quilt. Wait for it... Now that you have them all pieced, you'll want to cut more 3in strips perpendicularly to what you have already sewn. (Not pictured, sorry.)
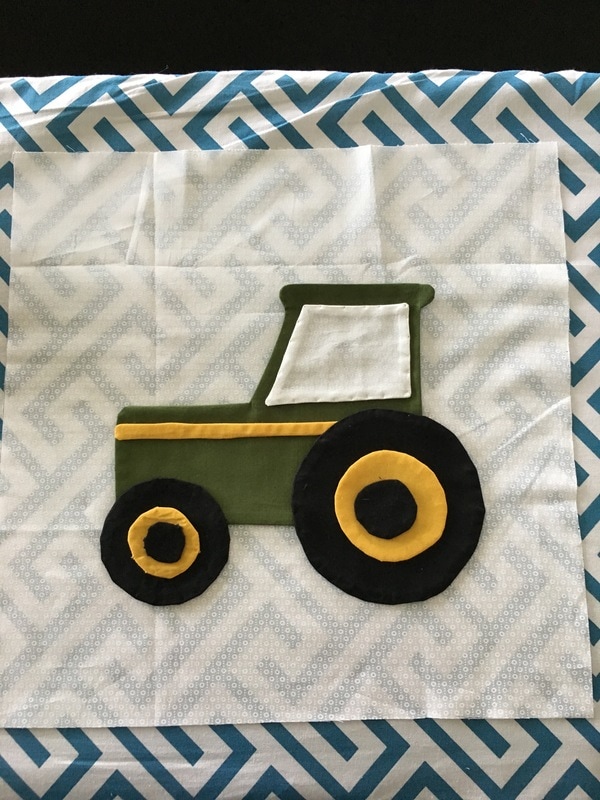
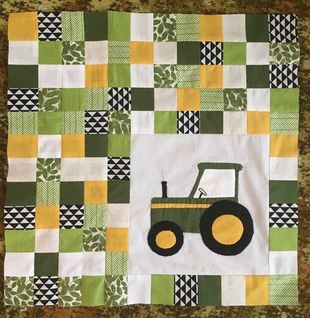
Once you have that done that you can begin to place each of your quilt pieces around the appliqué. Try your best to not let them double up on colors next to each other. I made mine square with the tractor in the corner, but you could center it just as easily. By laying out these strips it was easier to piece the rest of the quilt together. I had to add/ remove a few extra squares here and there, but this gives the general idea. Then you can start piecing those strips together, and it makes the process so much faster than cutting out each square one by one. (Ignore the psychedelic carpet in the background. haha!)
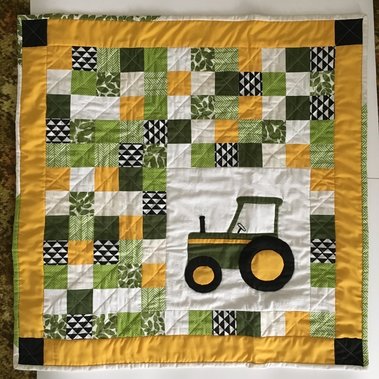
From there I added the yellow border form the extra 3in strips and black corners from some left over scraps. I used solid green for the back, and I got really lucky with some nice cotton batting from our local craft store. (Would you believe that our little farm town of 900 pop has two fabric stores?! I'm so blessed) Because the finished product was about a square yard, it was small enough to quilt on my machine. To quilt the layers together I just did an "X" pattern through each 2in square and I very carefully machine stitched around the tractor appliqué so it would stand out against all the other colors and layers. Once quilted and trimmed to the right size I cut some binding. I decided to use colorful scraps rather than a solid and I really like how it turned out actually. I followed the directions form Old Red Barn Co, to get a refresher on how to bind! I did it all by hand. and the corners turned out great. Binding was honestly my favorite part to do, maybe because it was like the final stretch.
Next tractor I make will be RED. My husband is employed by CASE IH so I should be ashamed for making a John Deere quilt. Haha all jokes.
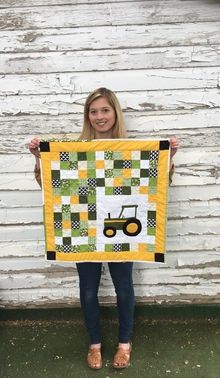
This project took me about 2 solid afternoons of work and only cost me about $25 because I used a lot of fabric that I already had. I only bought the solid colors, the batting and some thread. I really enjoyed the challenge of quilting because I really don't have a lot of experience doing so yet. It was a good project to learn on, and though not perfect I am happy with the result.
1 Comment
Joyce M Kingsbury Grabow
10/2/2023 02:02:28 pm
Did you make a printable pattern for your quilt? Outstanding design! well done! Leave a Reply. |

Organized but Colorful.
Aspire to Inspire. Archives
January 2020
|


 RSS Feed
